Everything I Know About Baking Sourdough at Home
Personally, I love how many home bakers were created during the Covid-19 Pandemic. I think it’s great that so many people are finding comfort in what I’ve known for a while- the therapy of creating something complex out of seemingly simple ingredients. It’s amazing what can result from just mixing flour and water. That magic, added to the routine of following the steps in a recipe has been why bread baking has always held a special place in my heart.
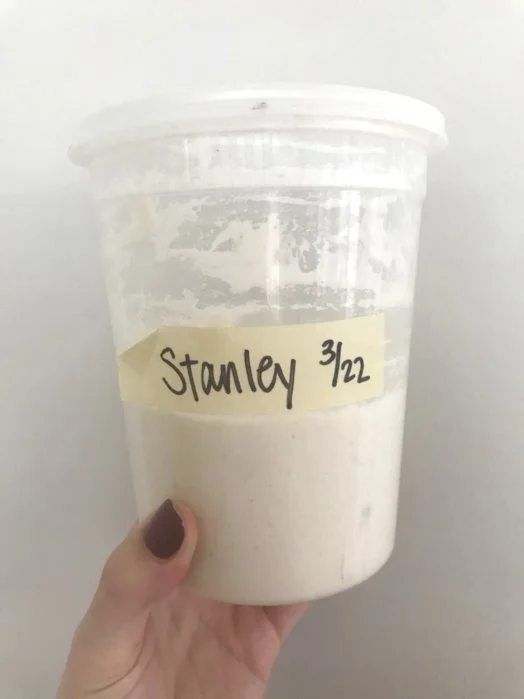
The steps for homemade sourdough can seem daunting, but I’ll try to simplify it as much as possible. The process and timing can vary based on environmental factors, so there is a lot of trial and error involved in finding what works best for you. For ‘starters’, I split out the details of making your own sourdough starter and sourdough starter troubleshooting into separate posts to prevent this one from being a novel. Head over there to start at the real sourdough beginning!
Once you have an active starter, baking the perfect loaf of sourdough can be broken down into five clear phases:
Liquid Levain (it means ‘leaven’ in French)
Autolyse
Bulk Fermentation
Shaping/Final Fermentation
Baking
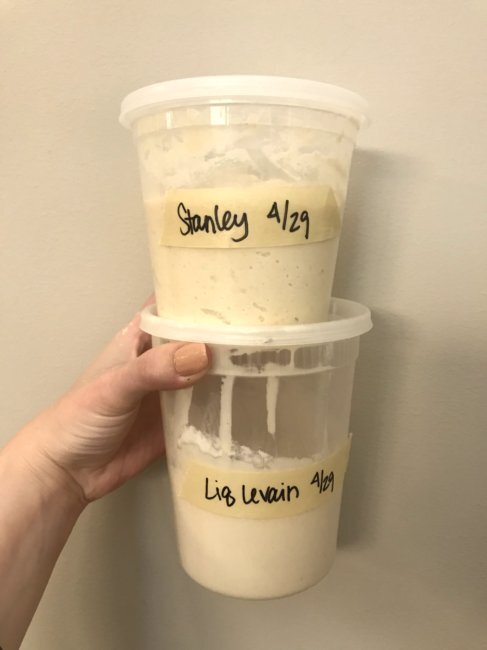
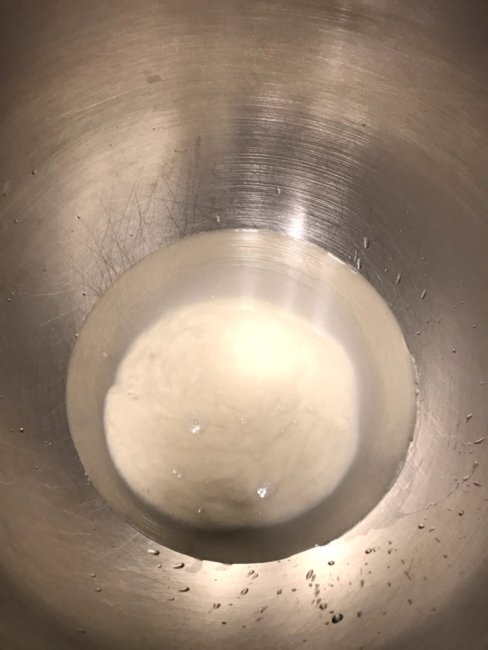
Some methods and recipes recommend mixing the liquid levain the night before mixing a loaf or up to 12-14 hours before. I found that I got the best results from my starter by actually doing it the morning of, and mixing my final bread only 2-4 hours after a fresh feed, or ‘levain’. If you watch your starter for a day following a feed, you’ll see it grow and then recede in the container. When making bread from your starter, you want to capture that high growth period your starter naturally has so that you get max leavening for your bread. The liquid levain is essentially reserving the starter you’ll end up using in the final bread recipe. It’s a mixture of starter, flour and water, just like for a regular feed. In my recipe, I even use the same ratio as a regular feed- equal parts.
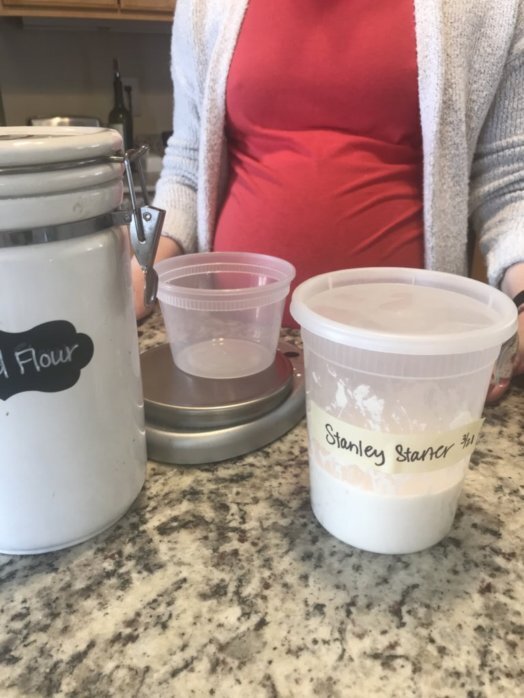
First thing the morning that I want to bake sourdough, I bust out my starter and give it a fresh feed. Some quick sourdough math: I keep roughly 4.5oz of starter on hand to minimize the discard I’m wasting. For my final recipe, I need 6oz of starter. So for a feed the morning of baking it looks like this:
3.5 oz starter
3.5 oz warm water* (key for max growth ~85-90* F)
3.5 oz flour (I typically use All-Purpose to feed)
You’ll have about 1oz of old starter to discard, pass on, or use for a different recipe, and 10.5oz of freshly fed starter- 6oz of which you’ll use in the recipe, and 4.5oz that you can put back in the fridge or pantry for later use. Still with me?
Allow the freshly fed starter to sit out on your counter at room temperature for 2-4 hours, depending on how early you started. I’ll provide a timeline to use below as an example, but just know if it’s 4pm and you’re just now feeding your starter, you’re in for a very long night. And now step 2: Autolyse.
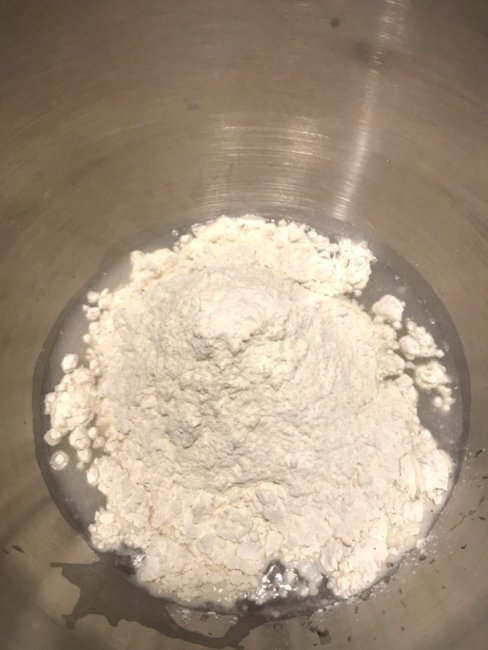
Using a dough hook attachment on an electric mixer, mix the first three ingredients (Starter, Water, Bread Flour) of your final recipe just until ‘picked up’, which means that the mixture isn’t totally cohesive, but that all of the dry flour in the bowl has been picked up into the dough. Autolyse is a resting period before you add salt to the bread dough, that allows for the gluten to properly hydrate and form. It doesn’t seem like it makes much of a difference now, but the final structure of your bread thanks you. I usually autolyse the dough for 20-45 minutes depending on how warm the room is. The warmer the room, the shorter the waiting.
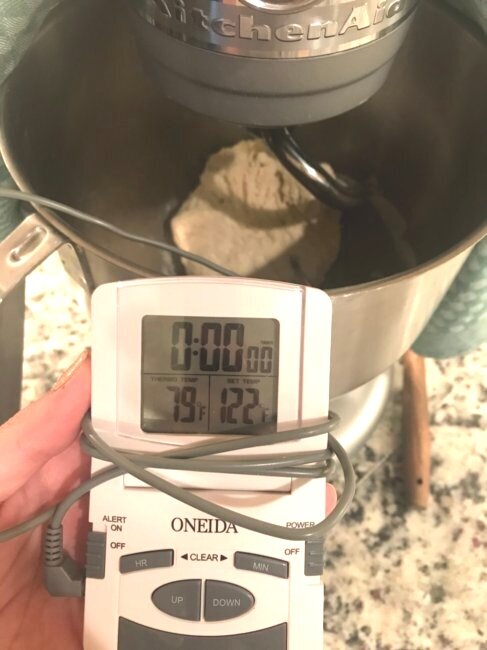
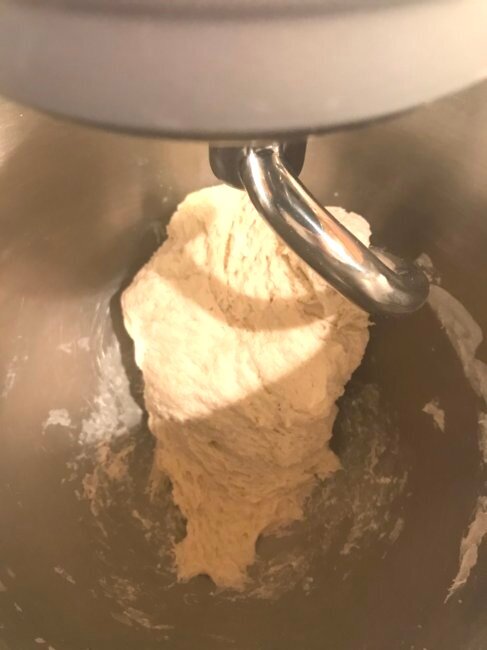
After the autolyse period is up, sprinkle in your salt and mix your dough until ‘improved’. Improved dough means the mixture is fully smooth and cohesive, and it has been mixed long enough for a gluten network to form. I mix for four minutes on low speed and then increase it to medium and mix for another four minutes.
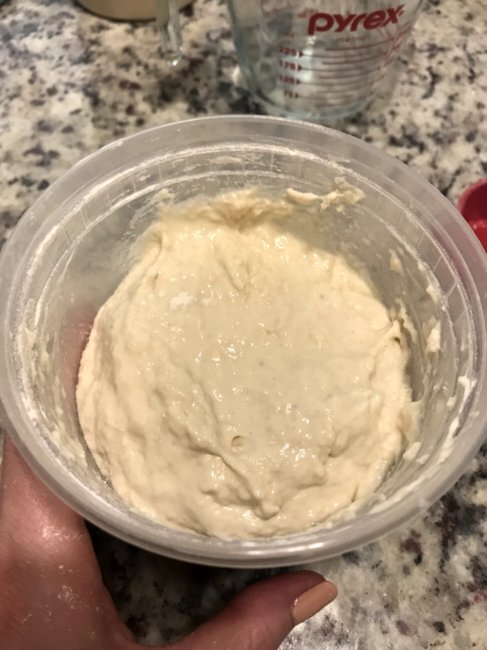
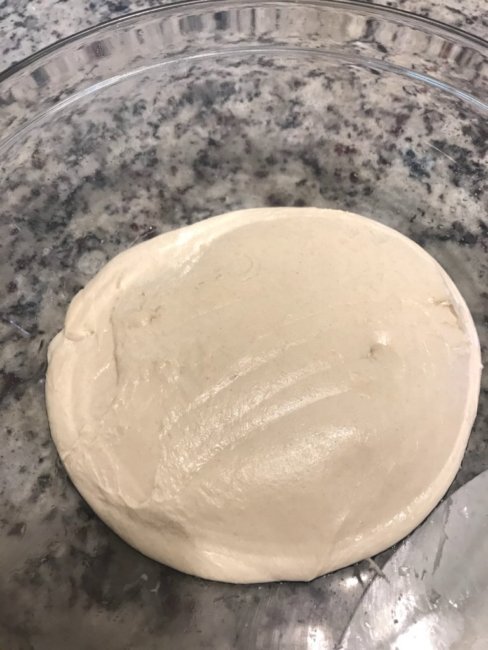
Grease a bowl (neutral pan spray or canola oil will work) and place your dough in here, covered with a clean towel, for step 3: bulk fermentation. During bulk fermentation, the wild yeast in your starter will feed on the nutrients in your bread dough and emit C02, which leavens your dough and causes the bread to rise. The gluten structure also relaxes and becomes stronger when we fold it, aiding in the final shape of the bread. Bulk fermentation is when the timing gets a little subjective. If you have a particularly cold room (68-72*F or lower) you’ll have to wait more overall time to get the same result as if your room is warmer (ideally 76-80*F). I have an oven with a ‘bread proof’ setting, and I use that for a more consistent result. If it’s laundry day, another way you can speed things up slightly is to place your bowl on top of the dryer. Whatever you can do for slightly warm, humid heat. This is the timing that I’ve found works best:
1.5 hours bulk ferment
1st fold
45 min bulk ferment
2nd fold
45 min bulk ferment
Shape
total time: 3 hours
Folding is simpler than it sounds. You can look up several fancy techniques for this, but what it boils down to is gently stretching your dough and folding it over itself in a few different directions. Re-cover and put right back in your warm place following a fold. Don’t stress if you forget about your dough for a bit or do your folds in slightly uneven time increments- more time is always better than less!
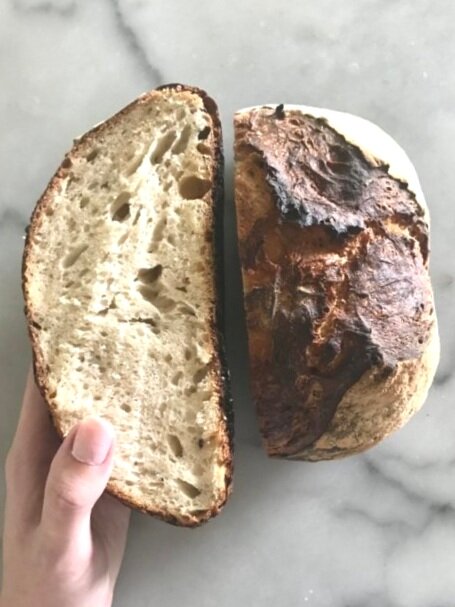
That brings us now to step 4: shaping. This is where the artistry starts to come in. Up until now, you’ve relied on a stand mixer, mother nature and a lot of patience to create a sour dough- but now we make it pretty. Shaping gives the bread structure and aids in that signature sponginess that only a sourdough loaf can deliver. Here is also where I direct you to my instagram feed to watch the Sourdough highlight so you can see video of shaping, because there is no better way to explain it. You basically turn and tuck the dough under itself in tiny circles on the counter until it tightens, but does not tear.
I tried a few different things with shaping - shaping once, shaping twice, different resting amounts, resting in a basket and without. What works best at home for me is shaping once, letting rest on my counter covered in a towel for about 20 minutes, shaping again and flipping upside down into a banneton. A banneton is a basket lined with canvas used to help resting bread keep its shape. They’re typically round or oblong. At home, I just use a glass bowl lined with a dishtowel and sprinkled with flour. After the loaf (seam side up) is placed in my makeshift banneton, I pop it back into the oven on proof for about 45 more minutes before step 4: baking.
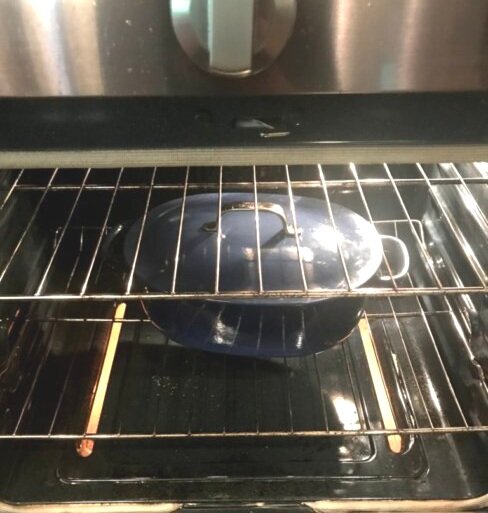
For as long and complicated as the lead up is, the actual baking of sourdough bread is pretty quick and painless. Before you do anything else, pre-heat your oven as high as it goes. Seriously- 500*F. If you have a dutch oven or oven safe pot with a lid, put that in and pre-heat it too.
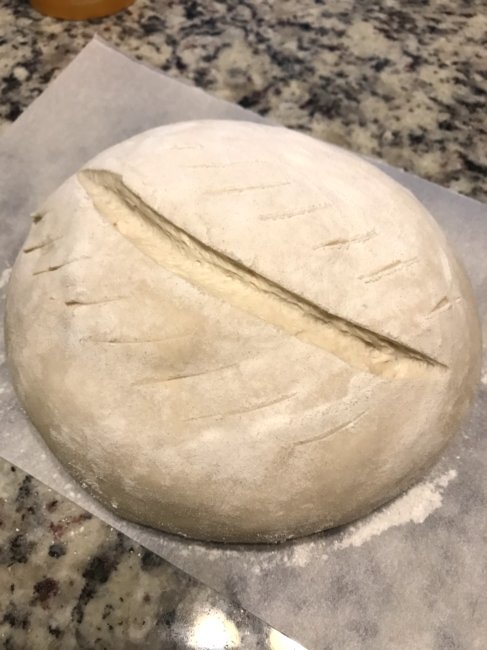
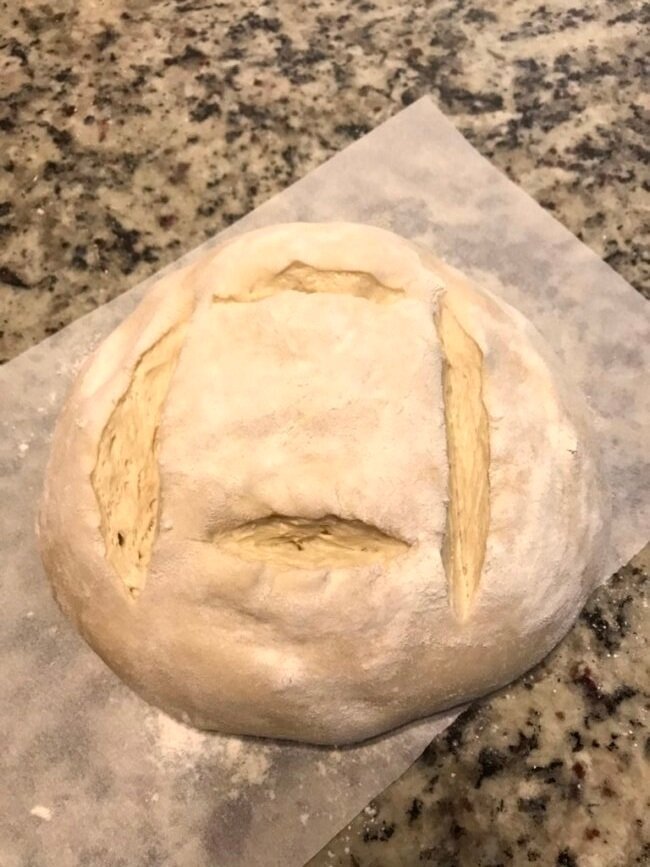
Next is the hardest part in this step, scoring, which has the dual purpose of giving the bread a design, and allowing the gases and steam to escape once in the oven. If your bread is currently resting in a banneton, sprinkle the exposed part with cornmeal and flip the basket over onto a piece of parchment paper. You can use a sharp knife but ideally it’s done with a razor blade or lamė. The lighter your touch, the cleaner the cut. You also need to get pretty deep for the cut to show as a design after baking. The advanced sourdough lesson includes fancy designs, but for now, just make an ‘x’.

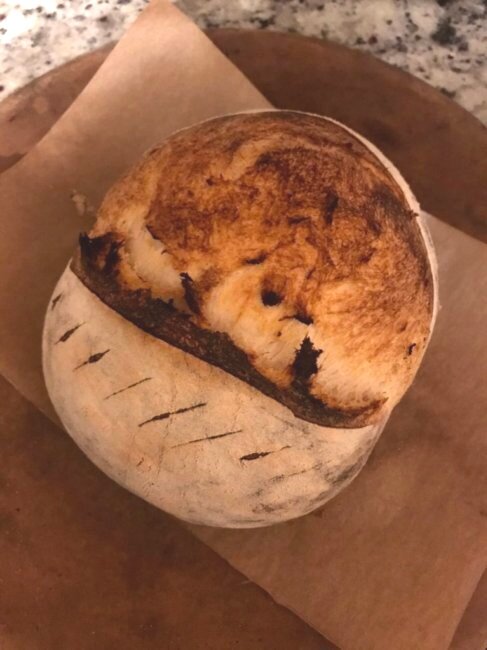
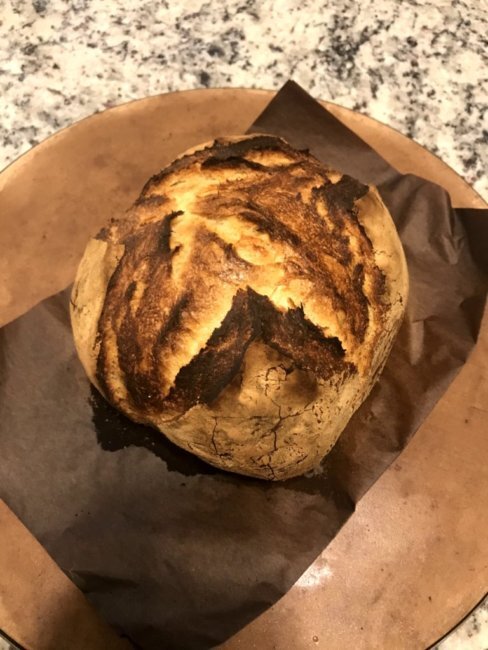
Once your oven and baking vessel are both pre-heated, very carefully remove it from the oven. You’ll need some sort of lid to create steam and get the best crust on the bread- but if you don’t have an oven safe pot with a lid that is big enough, you can also use a cast iron frying pan with a foil pan tent of some sort. But the lid is important! Be so so careful taking things in and out of the oven- 500*F is hot. Pick up your loaf by the corner of the parchment paper after it is scored, and drop it right into the hot pot. Bake for 15 minutes with the lid on, and then remove the lid and bake for 15 more minutes. We did it.

If you made it this far, you must either really love me or really love sourdough. For a select few, maybe both. Your reward is this timeline and formula which is the closest thing to a sourdough recipe I can provide:
Basic Sourdough Formula:
Active Starter (Levain): 6oz
Bread Flour: 11.6oz
Salt: .28oz
Water: 5.5oz
9:00am: Feed Starter 3.5oz ea: water, flour starter.
11:00am: Mix bread, including a ~45min autolyse period
12:00pm: Start Bulk Fermentation
1:30pm: First Fold
2:15pm: Second Fold
3:00pm: First shape
3:30pm: 2nd Shape- begin final rest
4:15pm: Pre-heat oven, score and bake!
5:00pm: Give yourself a round of applause